The Volkswagen Rabbit is a reliable car, but it needs regular maintenance to stay that way. A crucial but often overlooked task is changing the transmission fluid, which is essential for the vehicle’s longevity and performance.
Clean transmission fluid lubricates moving parts, cools the system, and allows for smooth gear shifts. Over time, the fluid degrades and gathers contaminants, leading to poor shifting, increased wear, and potentially costly damage.
This guide offers a complete walkthrough of the VW Rabbit transmission fluid change process. By following these steps, you can perform this maintenance yourself, saving money and better understanding your vehicle. Regular fluid changes will help maintain your Rabbit’s performance for years to come.
Tools and Materials
Before beginning the transmission fluid change, gather all the necessary tools and materials. Having everything prepared will make the process more efficient and prevent interruptions. You will need a basic set of automotive tools to complete this job correctly.
For this task, you will need Allen head sockets or wrenches in corresponding sizes for your model, which is essential for removing both the drain and fill plugs on the transmission. A socket set with a ratchet and extension will also be helpful for accessing these plugs.
Fluid changes also require a drain pan to collect the old transmission fluid for proper disposal. You’ll also need a flexible hose to refill the transmission with new fluid. Have some shop rags or paper towels on hand to clean the area around the plugs and wipe up any spills.
Finally, you will need approximately two quarts of the correct manual transmission fluid. Always consult your owner’s manual or a trusted parts supplier to confirm the specific type of fluid required for your VW Rabbit model year. Using the wrong fluid can cause serious damage to your transmission.
Draining the Transmission Fluid
1. Warm Up the Fluid
First, warm up the car by driving it for five to ten minutes. This helps the transmission fluid flow more easily, ensuring a more complete drain.
2. Safely Lift the Vehicle
Park the car on a level surface and engage the parking brake. Use a hydraulic jack to lift the front of the vehicle, then secure it with jack stands. For your safety, never work under a vehicle with only a jack supporting it.
3. Loosen the Fill Plug
Next, locate the transmission fill plug on the driver’s side of the transmission case. It’s crucial to loosen this fill plug before the drain plug to ensure you can refill the transmission later. Use a 17mm Allen wrench to loosen it, but don’t remove it completely yet.
4. Drain the Old Fluid
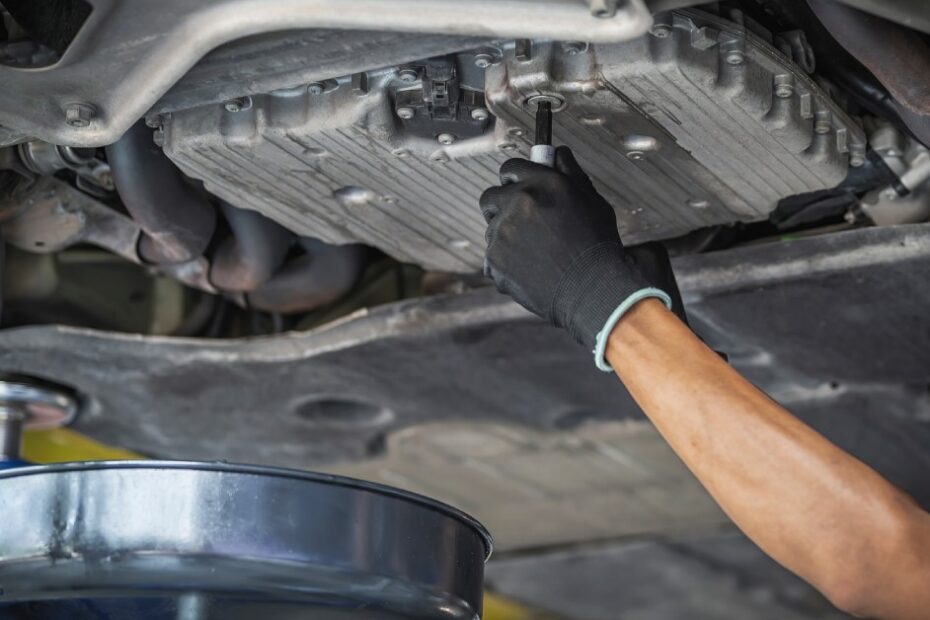
Position the drain pan directly under the drain plug, which is at the bottom of the differential housing. Use the Allen wrench to carefully remove the drain plug. Be prepared for the old fluid to flow out immediately.
5. Clean and Inspect the Drain Plug
Allow the fluid to drain completely, which might take several minutes. Once the flow stops, clean the drain plug and the surrounding area with a rag. Check the drain plug for metal shavings—a small amount is normal, but large chunks could signal internal transmission issues.
6. Reinstall the Drain Plug
After draining the old fluid, reinstall the drain plug and tighten it securely. To avoid damaging the threads, do not overtighten it. It’s best to use a torque wrench to tighten it to the manufacturer’s specification.
Refilling the Transmission Fluid
Step 1: Prepare for Refilling
With the old fluid drained and the drain plug securely reinstalled, you can begin refilling the transmission. This step requires attention to avoid overfilling or spilling the new fluid.
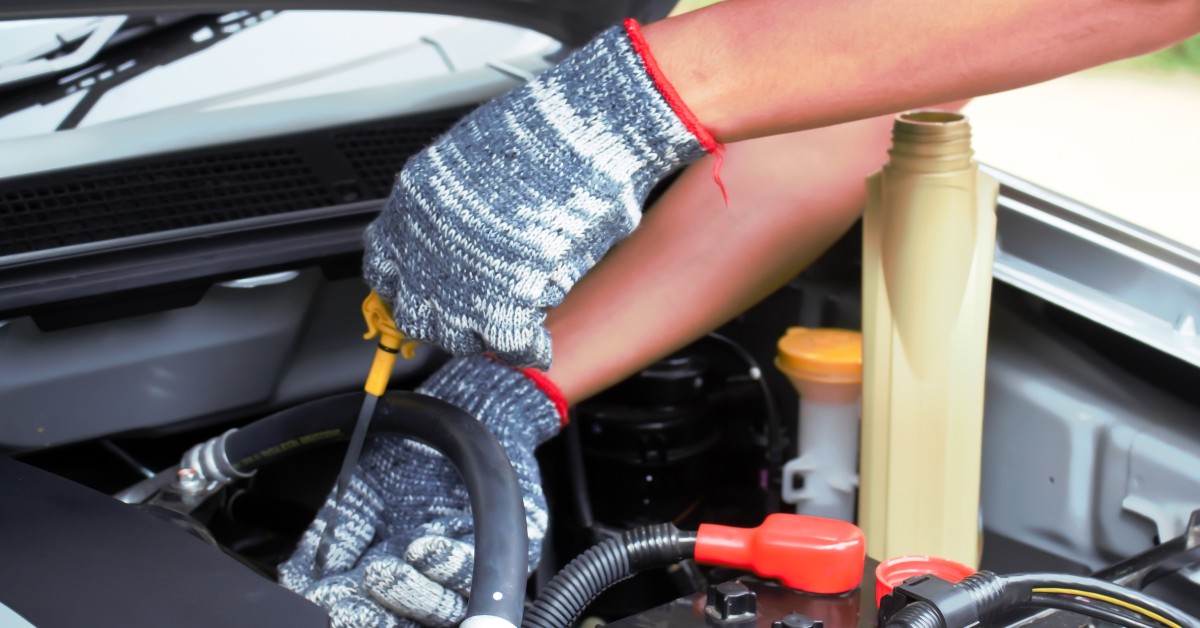
Step 2: Remove the Fill Plug
Completely remove the fill plug that you loosened earlier. Insert a funnel with a flexible hose into the fill hole. Make sure the funnel is securely positioned to prevent it from falling out during the process.
Step 3: Add Transmission Fluid
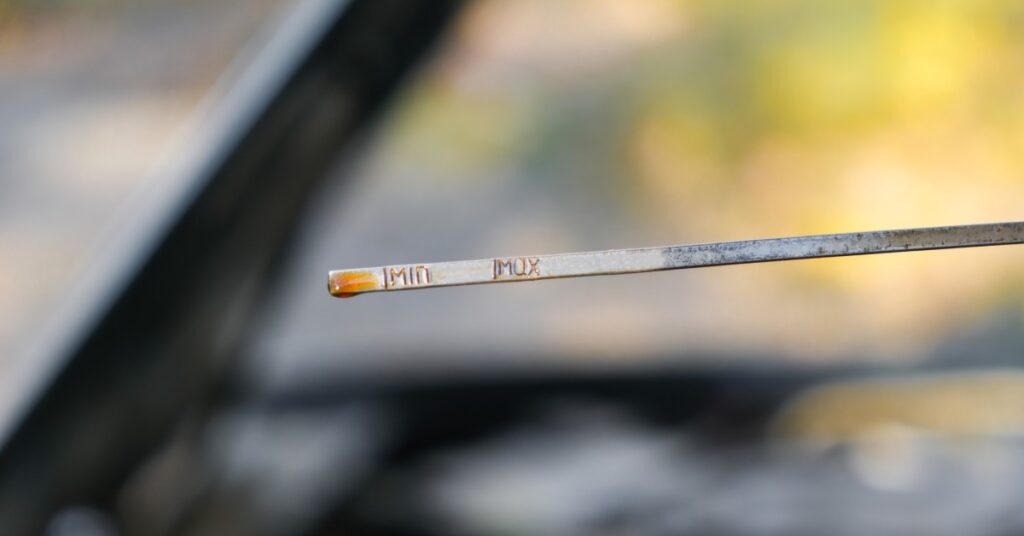
Slowly pour the new transmission fluid into the funnel. Start by adding approximately 1.5 quarts of fluid. Pause to check the level. You’ll reach the correct level when fluid reaches the “max” fill line.
Step 4: Top Off the Fluid
Continue adding fluid in small amounts until it slightly overflows from the fill hole. This overflow indicates the transmission is full. Ensure the vehicle is on a level surface for an accurate reading.
Step 5: Secure the Fill Plug
Remove the funnel and allow any excess fluid to drip out completely. Clean the fill plug and the area around the fill hole, then reinstall the plug. Tighten it securely but avoid overtightening.
Step 6: Test the Transmission
Lower the vehicle from the jack stands and take it for a short test drive. Shift through all the gears to circulate the new fluid throughout the transmission. After the drive, inspect the drain and fill plugs for any leaks.
Tips and Safety Warnings
Following a few professional tips and safety precautions can make your VW Rabbit transmission fluid change safer and more effective. These suggestions will help you avoid common mistakes and ensure the job is done right.
Always wear safety glasses and gloves when working with automotive fluids to protect yourself from splashes and skin irritation. Transmission fluid can be hot if the car has been recently driven, so wait a few minutes before draining it to allow the fluid to cool.
A common mistake is overtightening the drain and fill plugs, which can strip the threads in the aluminum transmission case. Use a torque wrench to tighten the plugs to the factory specification to prevent this costly error.
Properly dispose of the used transmission fluid. Do not pour it down the drain or into the ground. Most auto parts stores or local recycling centers will accept used automotive fluids for free.
For hard-to-find components or specific transmission parts for your classic Volkswagen, it’s beneficial to consult a specialized supplier. You can find high-quality Rabbit and Cabrio Volkswagen Parts at M&T Manufacturing to ensure you have the correct items for any repair or maintenance task.
Finally, remember to check the transmission fluid level again after a few days of driving. A small amount of settling can occur, and it is always a good practice to double-check your work to ensure the transmission remains properly filled.
Keeping Your Transmission Healthy
Changing your VW Rabbit’s transmission fluid is a vital maintenance task that directly impacts the vehicle’s performance and lifespan. This process lubricates essential components and removes harmful contaminants that accumulate over time. By following this guide, you can ensure your transmission operates efficiently for many more miles.
Regularly performing this service provides peace of mind and can prevent expensive repairs down the road. Taking the time to do it yourself also offers a rewarding experience and a better connection with your classic car. Remember to use the correct tools, choose the right fluid, follow all safety procedures, and find high-quality parts from M&T Manufacturing to guarantee a successful outcome.