Regular maintenance keeps your Volkswagen Beetle running smoothly for years to come. Oil changes are one of the most critical maintenance tasks, and replacing the oil filter is an essential part of this process.
This comprehensive guide walks you through the complete oil filter replacement process for your Volkswagen Beetle. Following these steps helps you maintain your vehicle properly while saving money on professional service costs.
Importance of Changing Your Oil Filter
The oil filter removes contaminants and debris from your engine oil, preventing these particles from circulating through your engine components. A clogged or worn filter allows dirty oil to flow through your engine, potentially causing serious damage to internal parts. Replacing the oil filter during every oil change ensures optimal engine protection and performance.
Tools and Materials Needed
Successful oil filter replacement requires the right tools and materials. You’ll need a socket wrench set with the appropriate drain plug size, typically 17mm or 19mm depending on your Beetle’s year and engine type.
An oil filter wrench is essential for removing the old filter, as these components often tighten significantly during operation. Choose between strap-type wrenches for easy access or cup-type wrenches for maximum grip strength.
Safety equipment protects you during the replacement process. Nitrile gloves prevent oil contact with your skin, while safety glasses shield your eyes from splashing oil or debris.
You’ll also need a drain pan with at least six-quart capacity, fresh engine oil meeting VW specifications, and a new oil filter designed for your specific Beetle model. Check your owner’s manual for exact oil viscosity requirements and filter part numbers.
Preparing the Vehicle
Start your engine and let it run for three to five minutes to warm the oil slightly. Warm oil flows more easily and drains more completely than cold oil. Never work with extremely hot oil, as this creates burn risks.
Park on level ground and engage the parking brake for safety. If you need additional clearance, use proper jack stands instead of relying solely on a jack for support.
Allow the engine to cool for ten to fifteen minutes after warming. This cooling period prevents burn risks while still maintaining oil fluidity for efficient draining.
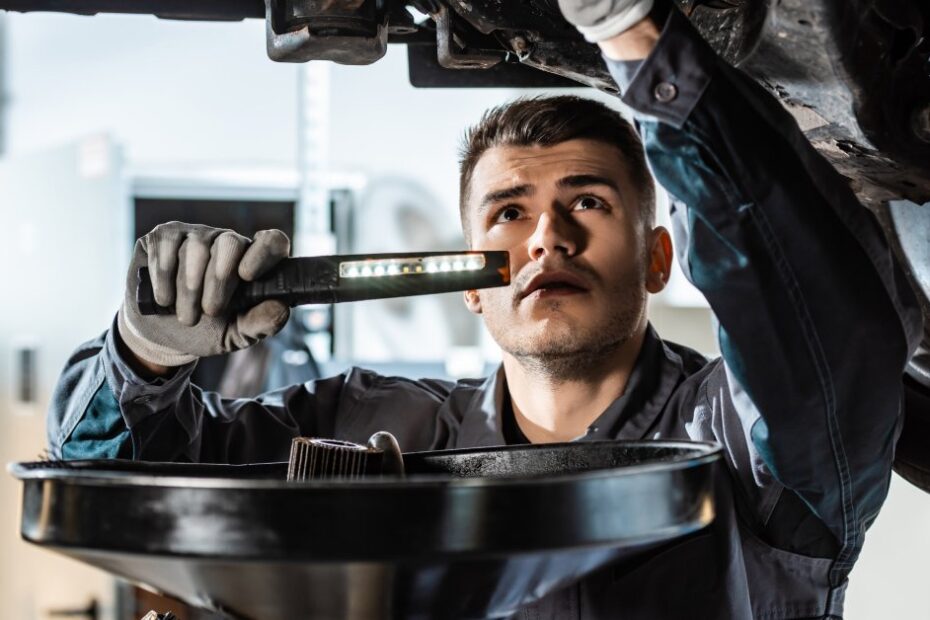
Locating Components and Draining Oil
The oil drain plug sits on the underside of the oil pan, typically toward the rear of the engine compartment. The oil filter location varies by model year but usually mounts on the side or bottom of the engine block.
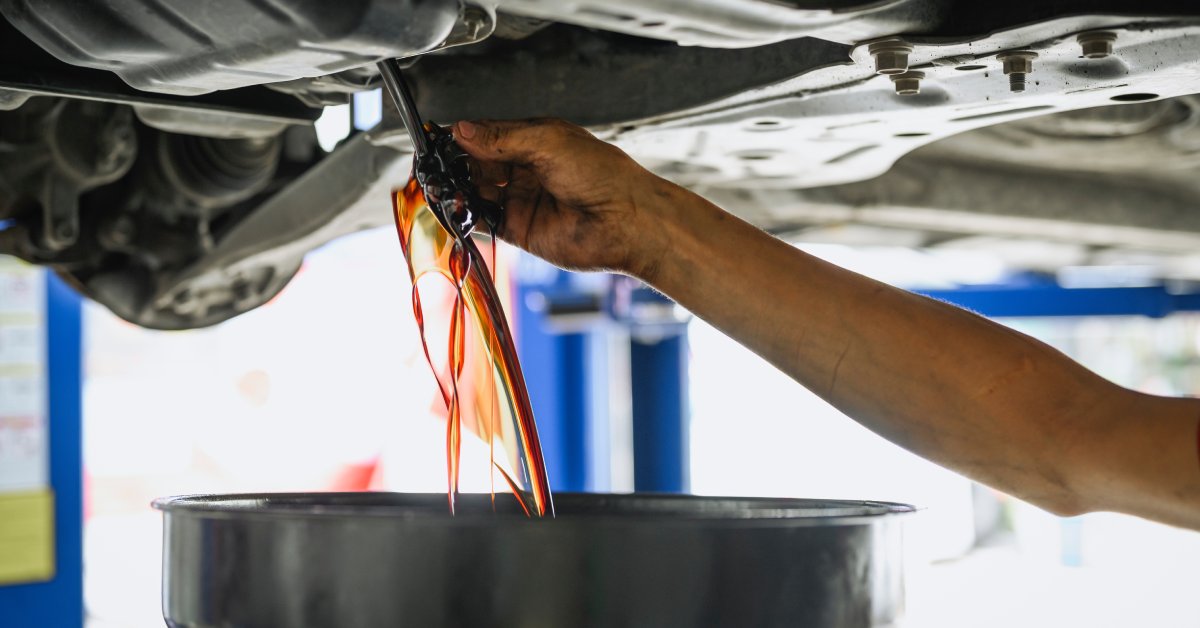
Position your drain pan slightly off-center from the drain plug to account for oil flow direction when the plug releases. Remove the drain plug slowly with your socket wrench, allowing oil to flow steadily into the pan.
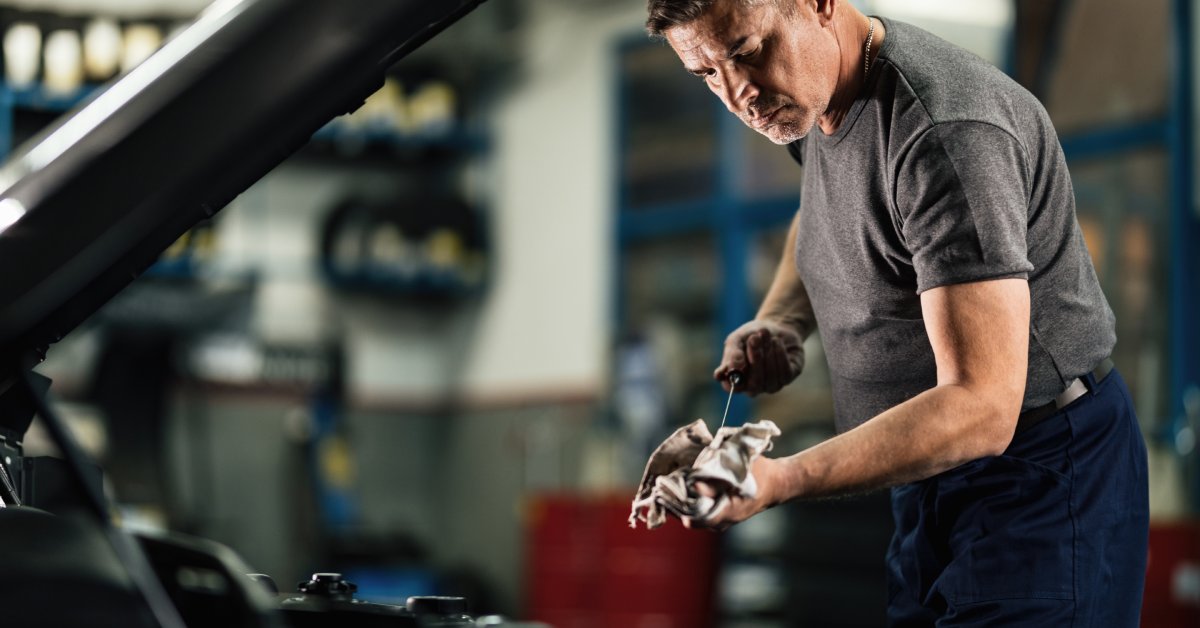
Complete drainage takes fifteen to twenty minutes, depending on oil temperature and viscosity. Use this time to inspect the drain plug and its sealing washer for wear or damage.
Removing the Old Oil Filter
Oil filters thread onto the engine block and seal with a rubber gasket. Use your oil filter wrench to turn the filter counterclockwise, remembering that additional oil will spill when the filter comes free. Position your drain pan beneath the filter mounting area before removal. The old filter contains approximately one cup of used oil that will drain out during removal.
Clean the filter mounting surface on the engine block with a shop rag. Remove any remnants of the old filter gasket, as double gaskets cause leaks and potential filter failure.
Installing the New Oil Filter
Apply a thin layer of fresh oil to the new filter’s rubber gasket using your finger. This lubrication helps the gasket seat properly and makes future removal easier.
Thread the new filter onto the mounting surface by hand until the gasket contacts the mounting surface. Then tighten an additional three-quarters turn by hand only. Over-tightening damages the gasket and makes removal difficult.
Avoid using the oil filter wrench for installation, as hand-tightening provides adequate sealing force. The gasket compresses during operation to create a leak-proof seal.
Steps to Completing the Oil Change
Clean the drain plug and inspect its sealing washer. Replace the washer if it appears cracked, hardened, or deformed. Thread the drain plug back into the oil pan and tighten to manufacturer specifications, typically 25-30 foot-pounds of torque.
Remove the oil filler cap on top of the engine and add fresh oil through the filler opening. Pour slowly to prevent splashing and allow air to escape from the crankcase.
Add approximately 75% of the required oil capacity initially, then check the level using the dipstick. Continue adding small amounts until the oil level reaches the full mark on the dipstick.
Checking Your Work
Replace the oil filler cap and start the engine. Allow it to run for two to three minutes while watching for leaks around the drain plug and filter areas.
Turn off the engine and wait five minutes for oil to settle into the oil pan. Check the oil level again and add more if necessary, as the new filter holds additional oil capacity.
Inspect underneath the vehicle for any signs of leakage. Address any leaks immediately to prevent environmental contamination and engine damage.
Tips for Smooth Oil Filter Replacement
Proper disposal of used oil and filters protects the environment and complies with local regulations. Most auto parts stores and service centers accept used oil and filters for recycling at no charge.
Keep your drain plug torque specification handy, as over-tightening strips threads in the aluminum oil pan. Also note that under-tightening allows the plug to work loose during operation.
Mark your calendar or set a reminder for your next oil change interval. Most Volkswagen Beetles require oil changes every 5,000 to 7,500 miles depending on driving conditions and oil type.
Where to Find Volkswagen Beetle Replacement Parts
Quality replacement parts ensure reliable performance and proper fit for your maintenance needs. M&T Manufacturing specializes in Volkswagen Beetle and classic car parts, offering both OEM and high-quality aftermarket options for your restoration or maintenance projects.
Visit our website to browse our extensive inventory of VW Beetle parts, including oil filters, drain plugs, and other essential maintenance components. Our knowledgeable staff can help you identify the correct parts for your specific model year and engine configuration.
Maintaining Your Investment
Regular oil filter replacement extends your Volkswagen Beetle’s engine life significantly. This preventive maintenance costs far less than major engine repairs caused by contaminated oil circulation.
Professional service remains available for those uncomfortable performing their own maintenance. However, understanding the process helps you communicate effectively with service technicians and verify proper completion of the work.
Document your maintenance activities in a log book to track service intervals and identify patterns that might indicate developing issues. This record proves valuable for warranty claims and resale purposes.
If you have any questions about the parts you need for an oil filter change or any additional details beyond our VW Beetle maintenance guide, feel free to reach out to M&T Manufacturing today.