The Volkswagen Beetle is an iconic car that has captured the hearts of car enthusiasts for decades. Whether it’s the unique, timeless design or the storied history behind “the people’s car,” the Beetle has a charm that’s hard to resist. For those who are passionate about vintage automobiles, restoring a classic Beetle can be an enriching project.
Restoring a vintage Volkswagen Beetle isn’t just about bringing back a car from the past; it’s a journey through craftsmanship, history, and personal dedication. This extensive guide will walk you through the entire restoration process, from assessing the initial condition to getting your Volkswagen Beetle back on the road.
Step 1: Assessing the Condition
Before you begin the restoration work, you need to assess the condition of your Beetle to understand what you’re dealing with. This step involves thoroughly inspecting the body, engine, and interior to identify areas needing repair or replacement.
Inspecting the Body
Start by giving the exterior a detailed visual check. Look for rust, dents, and areas where the paint is peeling or showing signs of wear. Pay particular attention to the floor pans, the battery box, and the frame head—these are common areas where rust can be especially damaging.
The Engine Check-Up
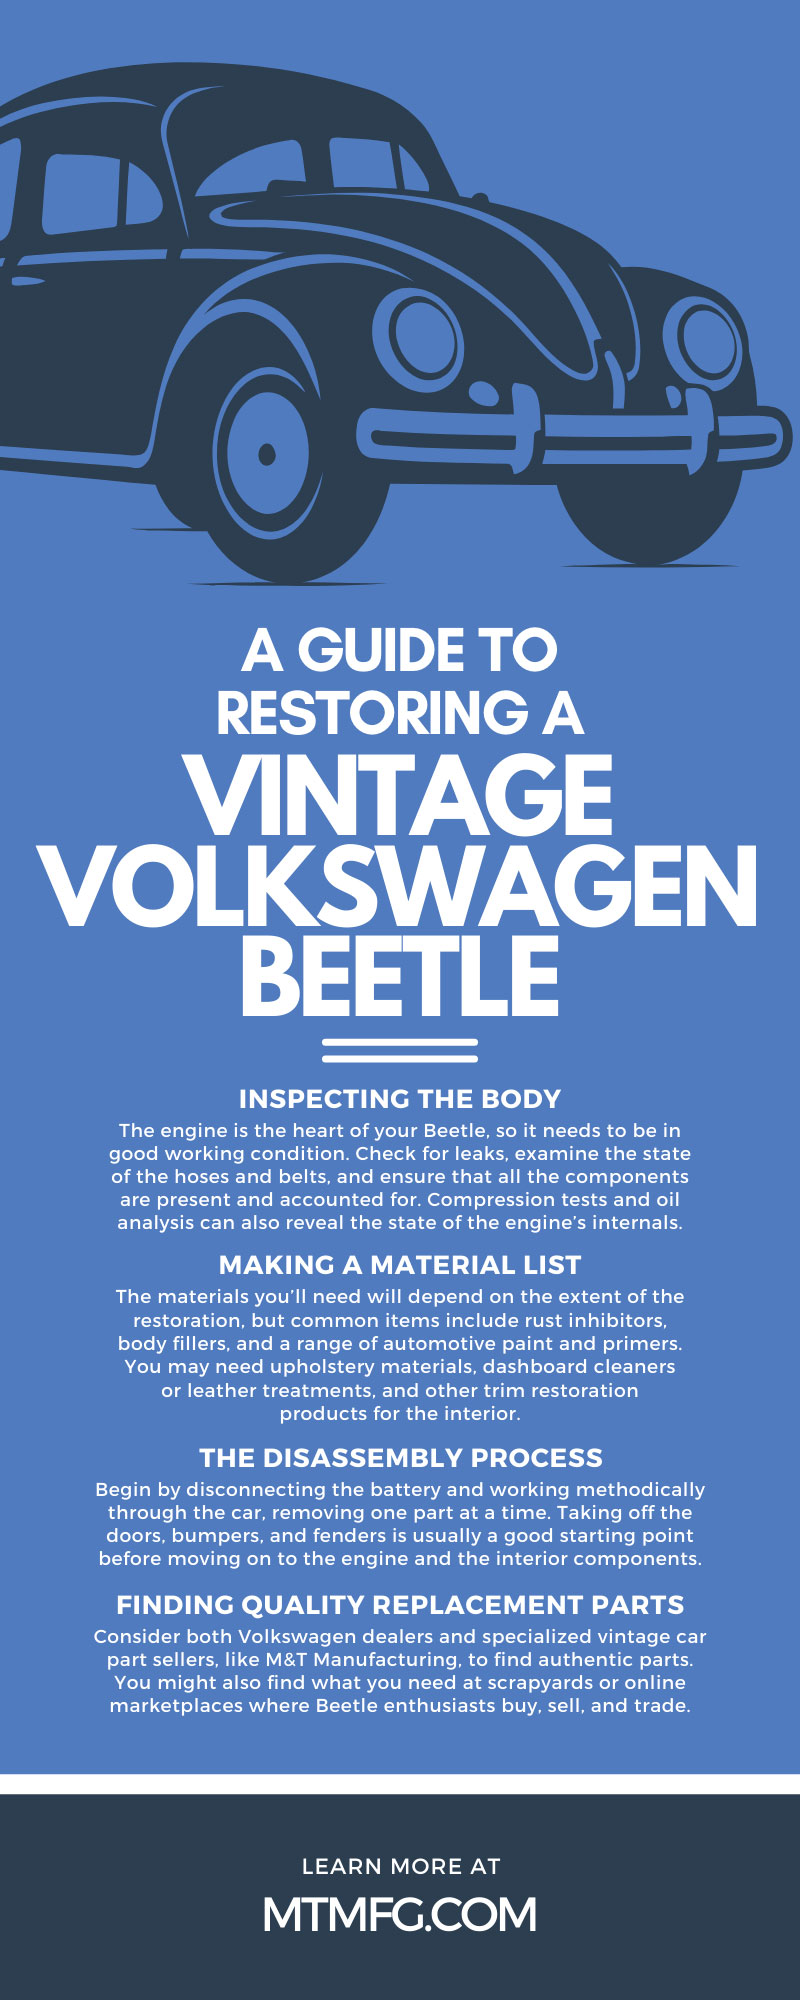
The engine is the heart of your Beetle, so it needs to be in good working condition. Check for leaks, examine the state of the hoses and belts, and ensure that all the components are present and accounted for. Compression tests and oil analysis can also reveal the state of the engine’s internals.
Interior Examination
Inspect the interior, including the seats, dashboard, and flooring, for signs of wear, tears, or other damage. Look for any electrical issues, such as lights not working, and note any missing components, like the radio or the glove compartment door.
Step 2: Gathering the Tools and Materials
Once you clearly understand what needs restoration, you can start preparing for the work ahead. You need to have all the right tools and materials before you begin disassembling your Beetle.
List of Essential Tools
You’ll need an array of tools for this project, including screwdrivers, wrenches, a socket set, and a multimeter for electrical checks. Additionally, you’ll need specialized VW Beetle tools, such as valve adjustment tools, a fan belt, and clutch disk aligning tools.
Making a Material List
The materials you’ll need will depend on the extent of the restoration, but common items include rust inhibitors, body fillers, and a range of automotive paint and primers. You may need upholstery materials, dashboard cleaners or leather treatments, and other trim restoration products for the interior. Ensure you purchase your VW Beetle accessories from M&T Manufacturing. We offer high-quality parts and accessories at prices that car enthusiasts will love.
Step 3: Disassembling the Vehicle
This step requires precision and organization. You’ll want to document the process and record where each part comes from to make reassembly easier.
Organizing for Disassembling
Start by creating a system to label and store disassembled parts. Use zip-lock bags, markers, and a camera to document the process. Consider purchasing a Beetle-specific disassembly guide to keep track of parts.
The Disassembly Process
Begin by disconnecting the battery and working methodically through the car, removing one part at a time. Taking off the doors, bumpers, and fenders is usually a good starting point before moving on to the engine and the interior components.
Step 4: Repairing and Replacing
With the Beetle disassembled, you’re ready to start addressing the issues you’ve found.
Tackling Rust and Dents
Rust is a common problem in older vehicles. Use a rust inhibitor to stop its spread, then remove the rusted areas and either weld in new metal or use a pre-formed patch panel. You can often use body filler to smooth out the exterior for dents.
Finding Quality Replacement Parts
Consider both Volkswagen dealers and specialized vintage car part sellers, like M&T Manufacturing, to find authentic parts. You might also find what you need at scrapyards or online marketplaces where Beetle enthusiasts buy, sell, and trade.
Step 5: Cleaning and Restoring the Interior
The interior of the Beetle is where you’ll spend most of your time, so making it comfortable and looking good is essential.
Upholstery Restoration
There are often classic car upholstery specialists who can match and restore the seats and door panels of your Beetle. If the original upholstery is beyond repair, you might have to consider a complete reupholstering.
Dashboard and Trim Work
For the dashboard and interior trim, use appropriate cleaners and restoration products. Replacing worn-out or damaged areas with new or refurbished components can rejuvenate the interior look significantly.
Step 6: Painting and Finishing
The transformative step of repainting your Beetle makes a difference in its overall appearance.
Preparing for Paint
After cleaning and sanding the exterior, you need to apply a primer. Use masking tape and paper to cover areas you don’t want to paint, and ensure you work in a well-ventilated area.
Applying the Paint
Spray painting can be tricky; start with light coats and build up to the final color. Be patient and meticulous, and ensure proper drying time between coats.
Achieving a Professional Finish
Professional-looking results require proper technique and care. Research proper painting methods or consider help from a professional to achieve that showroom finish.
Step 7: Reassembling the Vehicle
This step is the reverse of disassembly. You should refer to your documentation to ensure you reassemble everything properly.
The Reassembling Process
Begin by putting back the large components, such as the engine and the roof, then work your way through smaller parts, like the doors and the trim pieces.
Organization and Systemization
Be organized with how you keep track of everything and have a systematic process for assembly.
Step 8: Testing and Fine-Tuning
Once reassembled, you can see how your Beetle runs.
Ensuring Smooth Operation
Reconnect the battery and test the lights, the horn, and all other electrical components. Then, start the engine and listen for any strange noises or issues.
Tuning for Performance
If everything sounds and runs well, take the Beetle for a short drive. Make sure to check the brakes, the alignment, and the transmission. You may need to make final adjustments to ensure everything works correctly.
Final Restoration Thoughts
Restoring a vintage Volkswagen Beetle is a project that demands time, effort, and a true love for the classic car, but the above guide can help you through the process. After completing your restoration journey, you’ll have a vehicle that can turn heads and a profound sense of accomplishment. Embrace the heritage and the journey, and enjoy the road ahead in your restored Beetle.