VW bus overheating usually starts with a small issue that grows under load, heat, or sustained highway speed. Quick, methodical checks prevent engine damage and help keep a classic bus dependable for regular driving. If you are experiencing overheating issues with your Volkswagen bus engine, here are some troubleshooting tips to try.
Stop Safely and Reduce Heat Fast
Pull off the road as soon as conditions allow and shut the engine down. Keep the rear lid closed for several minutes so heat can dissipate without a sudden temperature swing, then carefully open the lid to vent trapped heat.
Avoid restarting the engine immediately. Continued operation with elevated temperatures can warp heads, degrade oil, and accelerate wear on bearings and piston rings.
Confirm the Symptoms and Gather Clues
Overheating on an air-cooled VW Bus often shows up as power loss, pinging under load, oil smell, or rising oil temperature on a gauge. A burning odor near the engine bay can point to oil leaks hitting hot surfaces or a slipping belt.
Note the driving conditions that triggered the problem. Long grades, strong headwinds, high ambient temperature, heavy cargo, and extended high RPM can expose weaknesses in cooling, fueling, or ignition.
Check Oil Level and Oil Condition First
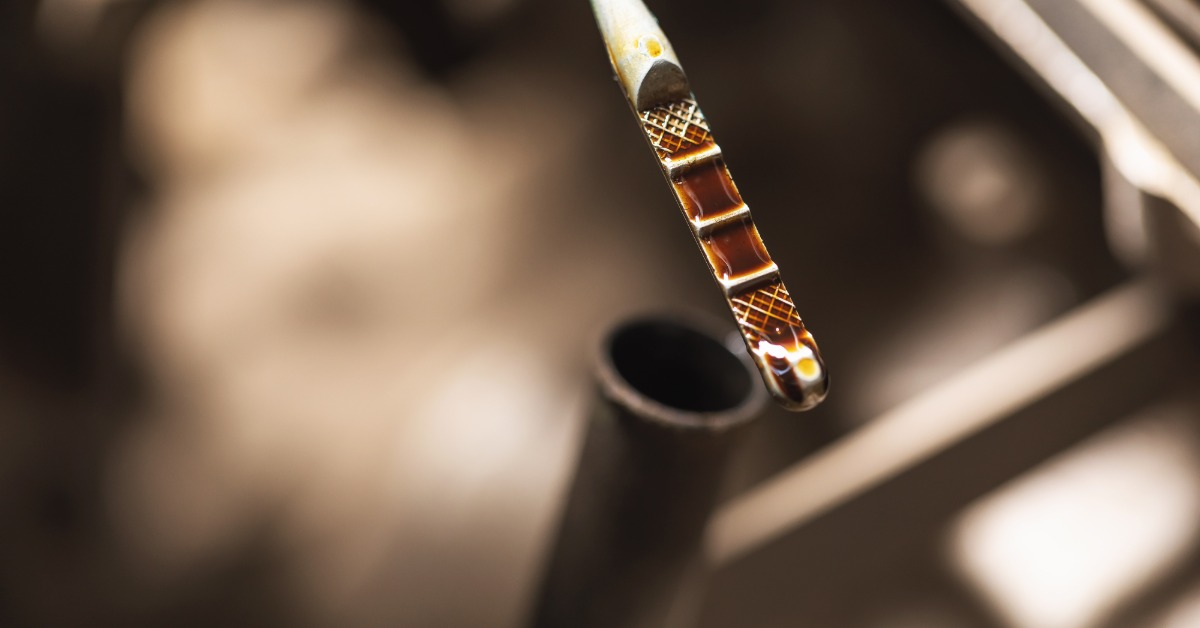
Low oil reduces heat control and increases friction. Verify oil level on the dipstick after a short cool down, then top off with the correct viscosity for the climate and engine build.
Inspect oil color and smell. Thin oil with a burnt odor suggests overheating stress and may require an oil change after repairs, along with a careful inspection for underlying causes.
Inspect the Cooling Fan Belt and Pulley System
A loose, glazed, or cracked belt can reduce fan speed and airflow. Confirm proper belt tension and inspect the pulley halves and shims for correct setup.
Look for belt dust around the pulley area, which can signal slippage. Replace worn belts and correct pulley spacing so the fan runs at the correct speed.
Look for Missing or Damaged Engine Tin and Seals
Air-cooled cooling depends on tight control of airflow, not just a spinning fan. Missing tin, cracked boots, or poor engine bay seals allow hot air from below to recirculate into the cooling intake.
Inspect perimeter engine compartment seals and all cooling tin pieces for gaps. Restore missing tin and seals to keep cooling air separated from exhaust heat.
Clear Debris and Verify Fan and Shroud Airflow
Leaves, insulation, and road debris can block intake vents or pack into cooling fins over time. Check intake areas and clear obstructions that could restrict airflow into the engine bay.
If access allows, inspect around the fan shroud openings for trapped debris. Cleaning airflow paths often drops operating temperature quickly on neglected engines.
Evaluate Ignition Timing and Distributor Function
Incorrect ignition timing is a common overheating trigger, especially after tune-ups or distributor swaps.
Verify that advanced mechanisms operate smoothly. Stuck mechanical advance or faulty vacuum advance can cause excessive heat under load.
Check Fuel Mixture and Vacuum Leaks
A lean mixture raises combustion temperature and can overheat heads quickly. Vacuum leaks at intake boots, carb base gaskets, brake booster lines, or vacuum ports can lean out the mixture without obvious drivability issues at idle.
Inspect hoses, boots, and clamps, then test for leaks with appropriate methods. Correcting vacuum leaks and setting mixture properly reduces heat and improves reliability.
Inspect the Thermostat System and Cooling Flaps
Many VW engines use a thermostat and cooling flaps to control warm-up and airflow balance. Missing parts, stuck flaps, or incorrect linkage can reduce cooling efficiency, especially at sustained speeds.
Confirm the flaps move freely and the linkage operates correctly. Restore missing components so the cooling system functions as designed.
Check for Exhaust Restrictions and Heat Sources
Collapsed mufflers, damaged internal baffles, or clogged catalytic components on later configurations can trap heat and raise engine temperature. Exhaust leaks can also push hot gases into the engine bay and heat surrounding parts.
Inspect for damaged pipes, loose joints, and soot trails that indicate leaks. Repairing exhaust issues can lower under-bay temperatures and protect engine bay seals.
Verify Cooling System Match for the Engine Build
Engine swaps and upgrades sometimes mix fan shrouds, oil coolers, and tins that do not match. Mis-matched parts can reduce airflow to the oil cooler or create hot spots across cylinders.
Confirm that the fan shroud, oil cooler style, and tin configuration match the engine case and the vehicle application. Correct combinations support balanced airflow and stable operating temperatures.
Consider Oil Cooling Upgrades Carefully
Some builds benefit from external oil cooling, but poor routing or incorrect thermostatic control can create new problems. Oil coolers should use a thermostatic valve, proper hose ratings, and safe mounting away from debris impact.
Treat add-on cooling as a supplement, not a substitute for correct stock airflow management. Fix root causes first, then evaluate upgrades based on measured oil temperature and operating conditions.
After Repairs, Test Under Real Driving Conditions
A short idle test in a driveway does not prove the overheating issue is resolved. Drive the vehicle through the conditions that originally triggered the problem, such as sustained speed or hill climbs, while monitoring oil temperature and engine behavior.
Recheck belt tension, oil level, and any clamps or fasteners after the test drive. Heat cycles can loosen recently installed parts.
When Professional Help Makes Sense
Persistent overheating after basic checks can signal deeper issues such as low compression, incorrect deck height, excessive compression ratio for fuel quality, or head sealing problems. A leak-down test and compression test can identify mechanical causes before additional parts replacement.
A qualified VW specialist can also confirm that jetting, timing curve, and cooling configuration match the vehicle’s use. Early diagnosis prevents repeat overheating and expensive engine damage.
Reliable Parts Matter for Cooling and Longevity
Cooling system integrity depends on correct-fit seals, quality belts, proper tin, and dependable ignition and fuel components. Sourcing parts that match the application reduces repeat failures and shortens troubleshooting time.
M & T Manufacturing has supported classic VW restorers with parts for decades and carries components for VW Bus restoration needs. Find all the Volkswagen bus parts you need for troubleshooting overheating engine problems and multiple restoration stages today.
Get Volkswagen Bus Parts From M & T Manufacturing
For cooling system seals, engine tin, belts, ignition components, and other Volkswagen bus parts that support dependable operating temperatures, order from M & T Manufacturing. Our inventory supports DIY restorations and shop-level repairs with parts selection built around classic VW applications.